|
Hi all. This is my
latest attempt at building a truly weather beaten aircraft. I have never built a
P-40E so I decided to pick up the AMT/ERTL kit. First off this is a pretty nice
basic kit. It could really use some updated and thinner canopy glass and better
cockpit. There are several nice aftermarket kits out there for making this a
better model but my budget did not allow me to do much more than a set of Edward
seat belts. The kit went together pretty well. The only fit issue I had was the
cowling. I had to use putty at the front to make it match the back of the
spinner. The rest of the model is putty free. I did have to do some creative
sanding and cutting to prevent some puttying.
|
Click on
images below to see larger images
|
|
|
 |

|
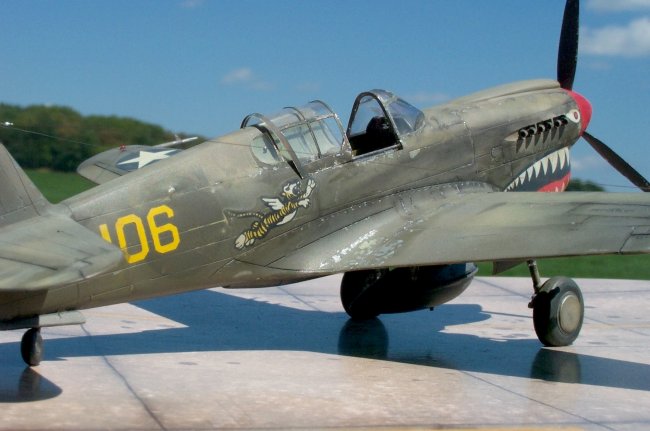
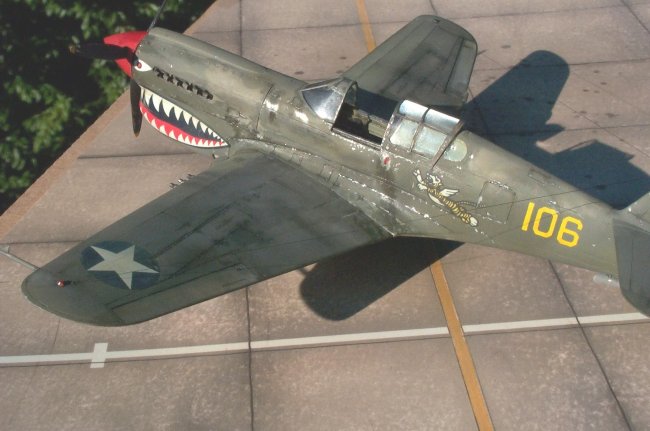
Once the model was
all together I primed it with Testors aluminum enamel. I then used Poly-S Olive
Drab for the top and Neutral Gray for the bottom. At first I just wanted to make
a plain Jane P-40 with no nose art, but I really like the teeth of the AFG and
the later US simple roundel with the star. So I went with creating a post AFG
P-40 with US markings. It is not any specific aircraft but more a representation
of the 1942-43 time frame. I used a mix of the kit decals and ones that I had in
my scrap folder. The only one I had trouble with was the tiger. It came out of
the old Monogram P-40a kit. The tiger was really really thick. No amount of
setting solution or clear coat would work. Since I was trying to keep this kit
under budget I chose to just work with it the best I could.
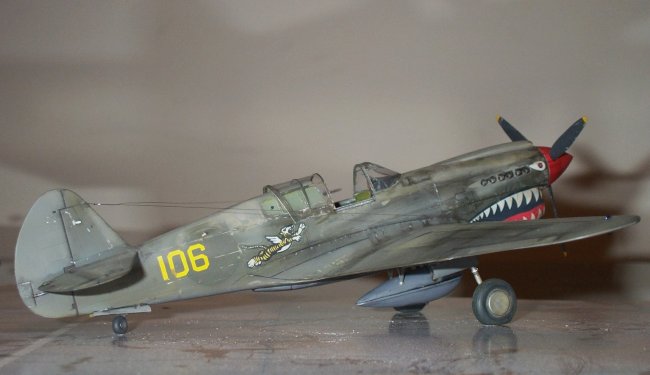
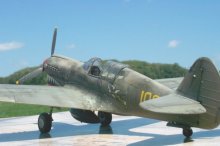
Once the decals were
on and the airplane had a good clear coat on it, I started the weathering
process. I wanted to actually weather the paint vs. painting on the weathering.
This was going to be an experiment!?!?. I had heard that medical alcohol could
cause paint to weather very quickly. So I bought some and tried it. It did work
on the Poly-S to a point. It was very hard to control how much it would weather
and were the alcohol would go. I messed with it for several hours until I got it
the way I wanted it. I also tried a little household bleach. Not for the timid!!
It worked but it was really hard to deal with. I did have to end up doing some
repaint and used pastels in areas that I was un happy with. The final result was
a mottled effect of sun bleaching and dirt. I think? I could definitely use some
feed back about the results.
|
Click on
images below to see larger images
|
|

|
|
|
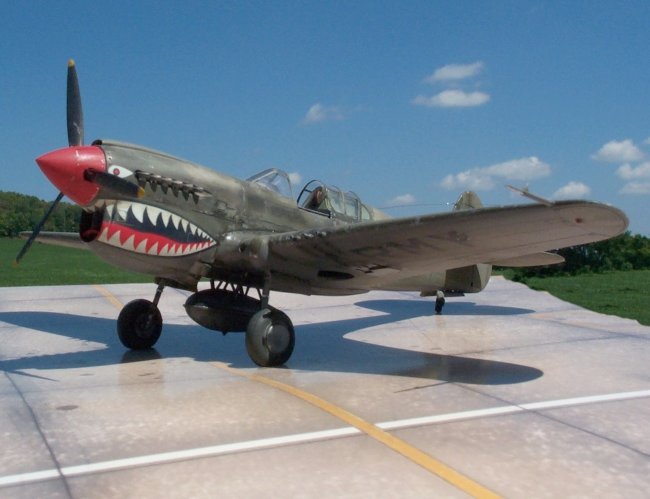
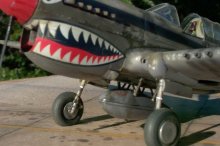
Once the weathering was complete
I addressed the exhaust, gun flash, dirt and oil stains. All but the oil stains
was done with pastel chalk. The oil stains were done with dirty motor oil.
Several people have asked me why and how am I using motor oil. The reason I use
it is because it looks real. It soaks into the paint just like it would on a
real aircraft. I apply it with a fine brush and streak in in high airflow areas
and rub it in around areas that a mechanic would be working. The oil is done at
the very last and it is not smudge proof. The only other things that I did to
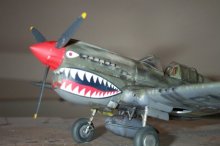
this model is drilled guns and exhaust. I added brake lines to the gear. My wife
donated hair for the antenna. And I eventually decided the kit canopy was so bad
that I fabricated one out of a beer can and .010 clear plastic. The canopy is my
favorite part of the model and really was not that hard. Once I had the outer
dimensions correct, cutting out the rest was easy. I hope you like the model. I
could use feed back on the weathering. I am constantly experimenting to see if I
can get models to look like dirty real planes.
Happy modeling
Andy
|
Click on
images below to see larger images
|
|

|

|
|