|
Many things have
been written about the superb Tamiya 1/72 scale World War II aircraft kits and
because of that I won't go into the kit too much here. I will say that apart
from a few minor changes this kit is built straight from the box, and all you
need to build it is a tube or jar of your favourite glue because the use of
filler is very minimal.
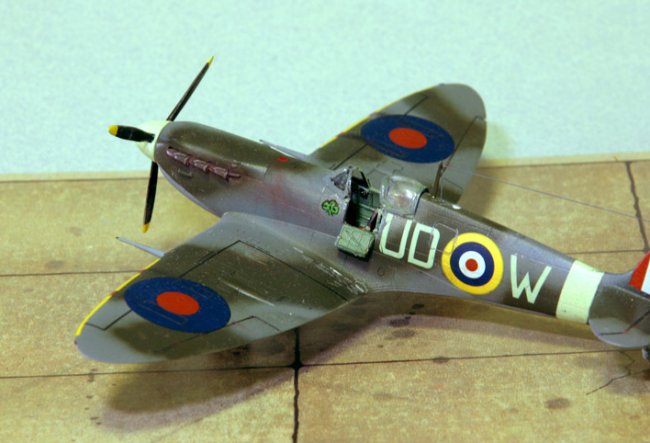
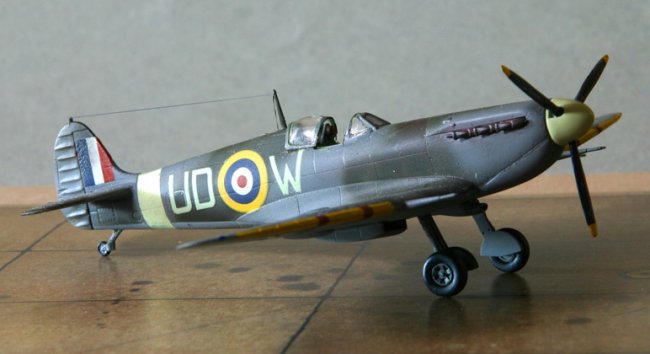
About this model, I
came into possession of a set of decals of mainly Royal Australian Air Force
pilots or Australian pilots in the RAF through an Australian company called
PD Decals many years ago and when I got this kit when it was first released
I thought that they would go well on it. One of the options was for FLTLT
Brendan (Paddy) Finnucane whilst he was a member of 452(RAAF)SQN RAF in Sept
1941, it is this option which I used to decorate this kit in. I started
the kit about two years ago. The kit went together extremely easy and my first
attempt at spraying camouflage patterns freehand in 1/72 scale left a little to
be desired as can be seen by the large feather demarcation between colours on
the upper surface. Paints used were Gunze for the Dark Green on the upper
surface and Medium Sea Grey on the lower surface, Humbrol Ocean Grey for the
upper surface, Humbrol Cockpit green for the cockpit, Gunze Sky for the fuselage
band and spinner, Tamiya Matt Black for the prop.
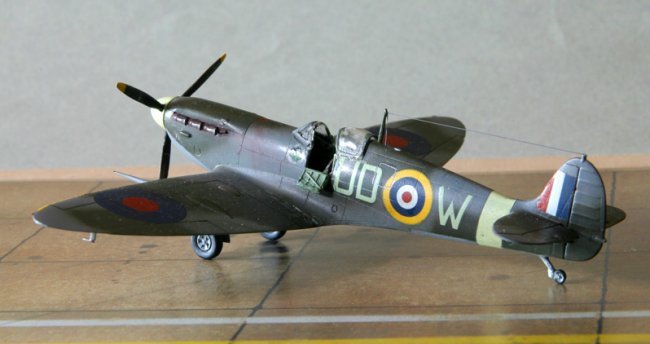
The first
changes I made, were to open the door so that the great interior can be seen and
to cut the canopy into three pieces. The second change to be made was to find a
spare Spitfire prop that looked like an early Rotol prop and blunt spinner. As
luck would have it lurking on my model desk is a partially completed SMER/Heller
Mk Vc (to be completed as a RAAF Natural Metal Mk Vc) with the right
shaped spinner and prop from it's original incarnation as a Mk Vb. This prop was
sacrificed to the Tamiya kit for it's own benefit, or it would have ended up in
the spares collection never to be seen again.
|
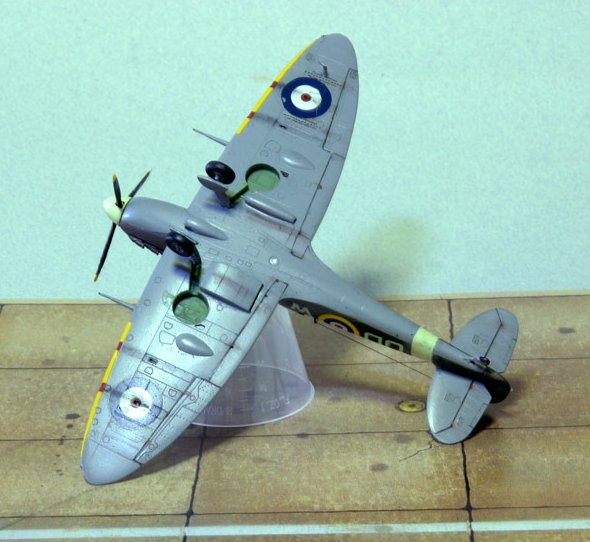
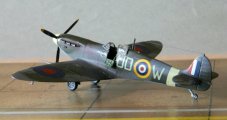
Click on
images below to see larger images
|
|

|

|
|
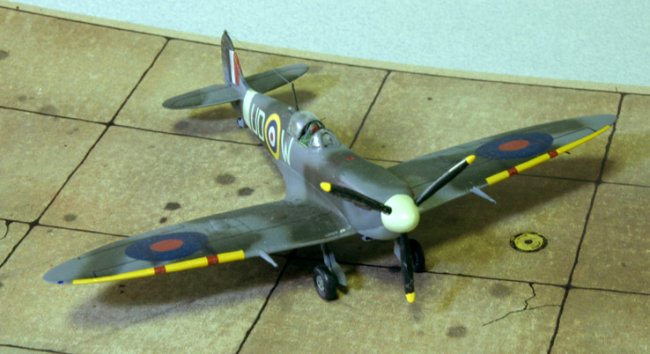
So now we have the kit ready for the decals. Here the fun
begins, having been bitten before with aftermarket decals I used the kit
National and general markings decals and only the unit and personal markings
from the after market set, basically because that is all that was supplied with
the set. I actually got one set of SQN markings onto the plane before they
came apart, the other side set started to break up in the water but stayed
together long enough for me to get them on the aircraft and into position.
The Shamrock marking for underneath the windshield shattered as soon as they hit
the water. After trying for months to get a new set and failing, I set the kit
aside. In March this year I managed to find a set at one of the
stalls at the Australian Airshow Downunder. So now I had a new set of
decals complete with the Shamrock. Having already suffered a major setback
the first thing I did was to spray on a coat of SuperDecal Finish, and then second
and third coats just to make sure that they would stay together. So it's
into the water and bingo it stayed together until I got it onto the model then
it started to come apart, however I managed to get it together and in position.
Two days later its dry and I paint the inside of the outline Emerald Green as
per instructions, let the paint dry and we're ready for the second Shamrock
to go over the top of the painted first one. Smart as I'm not, I decide
that a coat of Future is called for to seal the second decal against cracking.
So after another three days I carefully place the decal in the water and then
when it's loose on the paper, we move it to the aircraft and
"Shatter", not only that, the water gets into the first decal and
breaks it up from underneath the green paint and now I'm back to square one and
a hand painted Shamrock.
Hope you enjoy the kit, which made it's public debut in May 05
at the ACT Scale Modellers Society Annual Championships, hand painted Shamrock
and all.
Phil
|
|