|
Silver Cloud issued
this limited run injection kit in early 2001 as a "Collector's Limited
Edition." It includes pewter cast metal undercarriage, cockpit details,
exhausts and propellers. The box has a lot of good information on the history of
the development of this beautiful aircraft. Each kit is numbered up to 1000 -
mine's 176/1000 - whoopee! I don't know why the heck they did this other than to
try to tap into eBay's box collector market. Who knows. Anyone wanna buy the box
from me? All I know is I got a good deal on this baby on eBay; I saw later that
some people were paying upwards of 30 to 40 bucks for the same kit. Sheesh!
Opening the box gave
me my first sense of disappointment: the instructions are CRAP. You get a
one-page sheet with an exploded view on one side and a markings guide on the
other. That's it, you're on your own. 'Okay,' I said to myself, 'I'm an
engineer, I can deal with this.' Parts inventory reveals extras that you'd
better identify early and move out of the way so you don't pick them up by
accident and add them in - the good news is that you get two rudders and a
5-blade spinner you might be able to use on another project. The two rudders are
ever-so-slightly different, which is why you need to identify them and move the
extra one (apparently for the Spiteful derivative) out of the way. Next on the
to-do list: wash the metal parts. They come covered in some kind of oil to
preserve them I guess, but which interferes with adhesives and makes them very
slippery to hold on to. A little soap and warm water and you're good to go.
The kit's injection
molded parts are made of some soft gray plastic that's a real bear to put
together. There are no guide tabs to fit the sides together; if you're
experienced enough you can make do without them, but for beginners or the
meek, you might want to use your pin vise to create small pin joints which will
also give the model strength along the join lines.
The fuselage is in
four parts and at the joint where the four parts meet (right at the top of the
engine cowling, front + back + port + starboard) you end up with a huge
cross-shaped gap you gotta fill in with putty. The advantage of such soft
plastic is that if you need to do any trimming to get parts to fit, it's
relatively easy, just don't get carried away. The disadvantage is that if the
kit was left out on your porch on a hot day by your friendly neighborhood
delivery person, you may wind up with warped parts. Good luck fixing that.
|
Click on
images below to see larger images
|
|
|
 |
The cockpit details
were the next disappointment. If you can get your hands on any late-model
spitfire photo-etch update (the Seafang was based on the Seafire Mk. XV) you'd
be well advised to do so. You're only given the basics in this kit: instrument
panel, control stick, seat, armour, and floor, plus a decal set of gauges to
pick and place wherever you think they'd look good. The gauge decals were a cute
idea, but with no guidance as to where to put them, you might as well toss the
panel and get an aftermarket replacement for all it's worth. I stuck with the
OOB experience, saving myself for the Mk. 47 with all the add-on bells and
whistles. Now, I will say this: the control stick you get is well cast, as are
the struts and exhausts. I took a pin vise to the exhausts and the cannon
barrels for added realism (salvaged realism, I should say) and that turned
out pretty good. I also added tape seat belts, mostly to hide that embarrassment
of a seat.
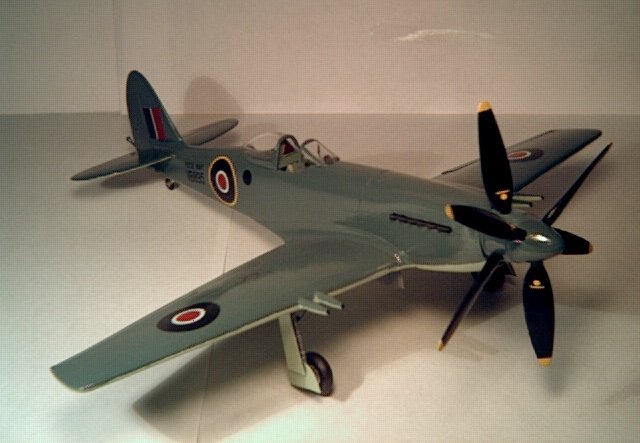
Once I got the fuselage together,
the wings needed to be fit. There is a brace that is supposed to go inside the
fuselage and hold the wings at the proper dihedral angle - toss this stupid
thing and set them with you own protractor and a drop or two of superglue. Set
the wings in place before you add on the radiators or undercarriage so you can
get a good view of the proper angle. Trust me, it works better this way; I tried
and tried to get that brace to fit into the fuselage and under the cockpit
without having small parts go ziiiiing to no avail. In the end, I trusted
my own drafting skills to those of the kit manufacturers.
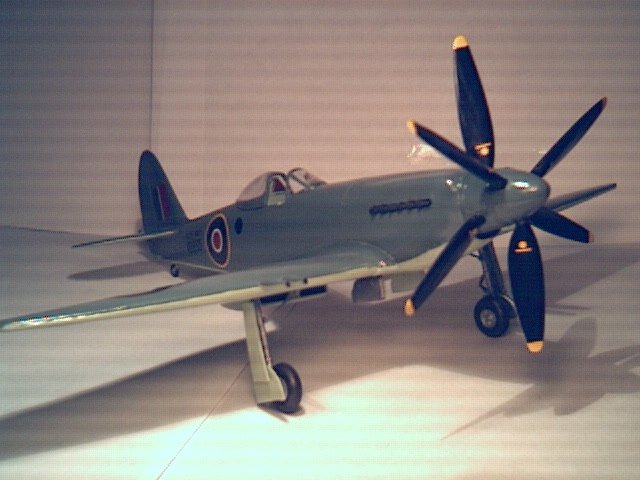
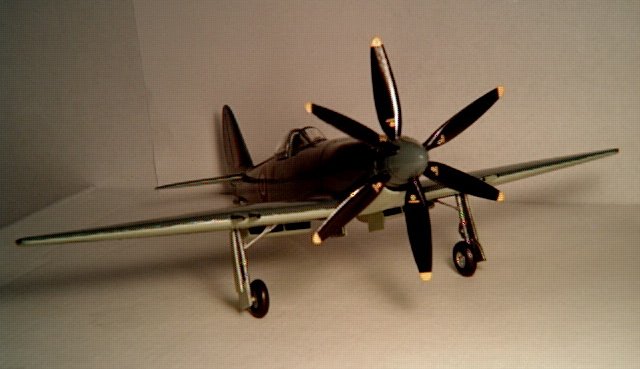
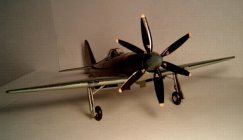
The contra-rotating propellers
were a wrestling match as well. Since the props are metal and the spinner parts
plastic, you have to be careful which glue you use and how much. I had trouble
getting the metal parts to hold fast with plastic glue and the soft plastic
reacted a bit with superglue. But one good thing about the props is that
the metal castings included a guide tab to set them at the proper angle, and as
long as you remember that one set goes around in one direction and the other set
goes the other way, you'll be fine - but don't get them mixed up!
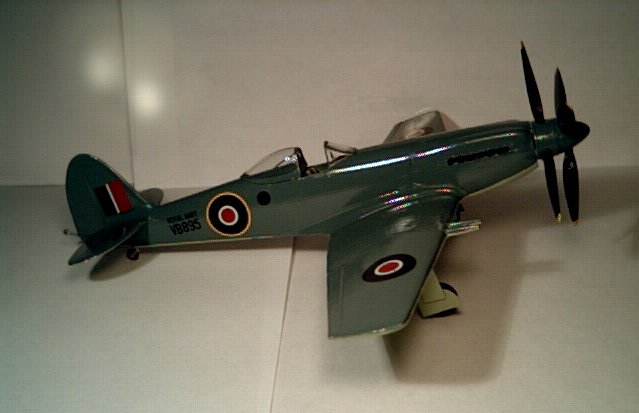
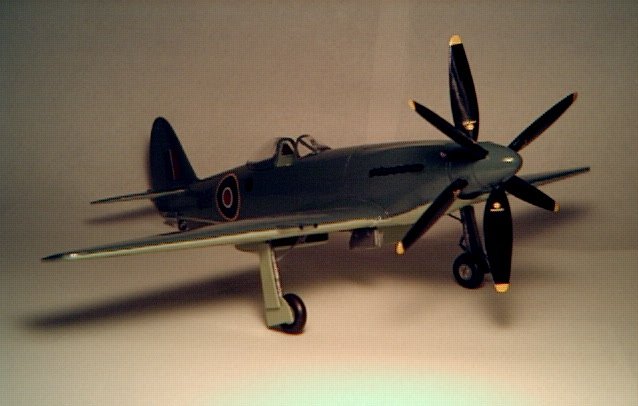
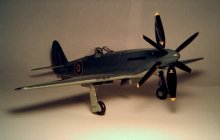
Finally, after adding the
radiators, air scoop on the lower cowling and cannons, you're ready to paint. I
used Testor's ModelMaster RAF Ocean Gray over RAF Sky Type S as the closest
match I had on hand. No masking or anything, I just hand-painted it since it's a
simple two-tone scheme. A coat of Future later, and I was ready for the decals.
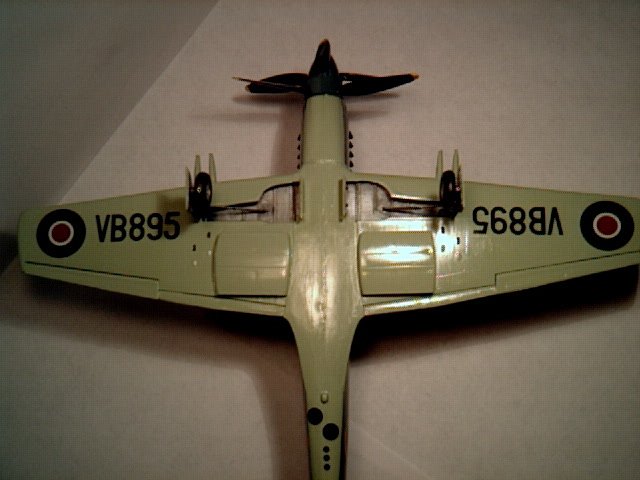
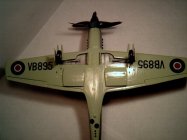
The ID Codes and roundels went on very easy, although I got the giggles about
the decals provided for the camera ports - if you feel up to it, the plastic is
soft enough that you could get away with cutting out the ports and inserting
glass covers for salvaged realism. Another coat of future and a good polish,
then add on the undercarriage and prop assembly and you're pretty much done.
The polished look is very
important on laminar flow wings like the Seafang, Spiteful, and Attacker because
engineers discovered that even tiny differences in the surface grain on the wing
significantly reduced the top speed of the aircraft. Thus, they were kept as
clean as possible. Also, given that the Seafang and Spiteful were experimental
aircraft and manufactured in low numbers, they didn't see much action so
weathering should be kept to a minimum.
Things I learned from building
this kit:
(1) aftermarket detail kits are a
great addition if used wisely. You have the option of setting the canopy open or
closed; if you leave it open, definitely add on to the details. After I finished
this, I put together a Bearcat with an Eduard set and the difference is like
night and day. I don't put the two next to each other for this reason. Next
time, I'm getting the PE detail set, but I'll probably keep the kit control
stick.
(2) Go slow, especially if the
instructions are terrible. Inventory the parts, dry fit everything, and keep the
Single-malt Scotch handy. Did I mention that the instructions were CRAP?
(3) Future is fantastic! This was
my first attempt at a finish with acrylic floor wax and I am very pleased with
the results. It also polishes up nicely (imagine that!) for a really nice glossy
finish.
If I ever find another good deal
on this kit, I'll pick it up, but I won't pay out the wazoo for it. These kits
are not worth an arm and a leg. I didn't pull out the calipers and count rivets,
but I can tell that it was not the best manufactured kit around and there are
probably some errors in scale and finish. Despite the problems, it came together
as a fairly decent kit and the only other two competitors for this aircraft in
this scale are a Falcon Vacuform and a paper model from Orlik! Next time, I
might even try to scratch-build the wing folds.
Alexander
|
Click on
images below to see larger images
|
|
|
|
|
|