|
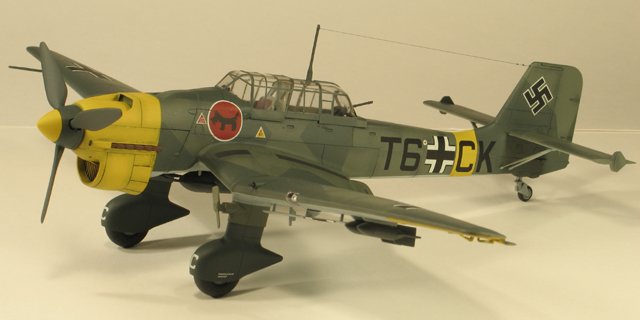
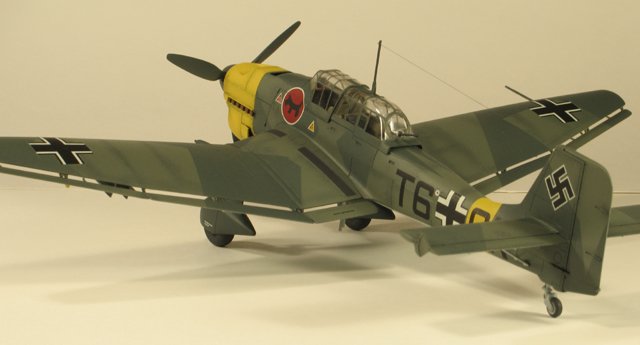
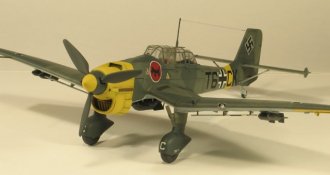
This is Hasegawa's
excellent Ju87B-2 in 1/48 scale. This kit went together well, although careful
attention went into the alignment of certain parts, most notably where the nose
assembly attached to the fuselage. Another area of concern is the small support
struts under the stabilizer. Do not use the locator holes on the fuselage for
these struts, or your stabilizers will droop downward. Keeping proper horizontal
alignment on the stabilizers will mean gluing the struts slightly above the
holes in the fuselage, and filling these holes in later.
|
Click on
images below to see larger images
|
|
|

|

|
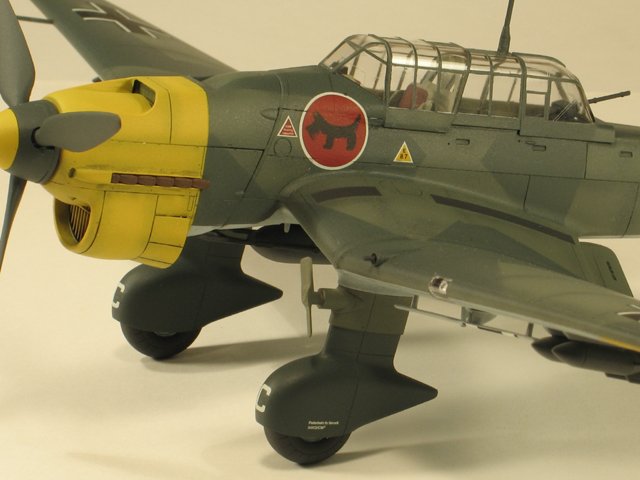
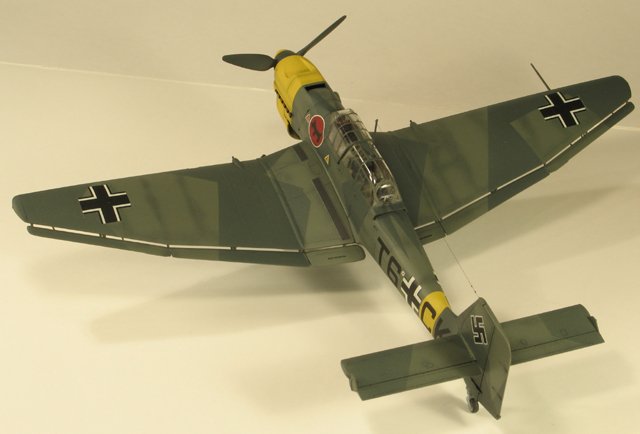
The kit was built
basically out of the box, with a few minor modifications. First, Hasegawa
elected to mold the main flap actuators (under the wing) as a filled-in
triangle, rather than a more accurate bent rod shape. I took my rotary tool and
a fine tip cone grinding bit and opened them up, giving them the appearance of
how they are on the actual plane.
Next, there is no wing landing
light provided (just the clear cover), so I scratched one from spare sprue
plastic. Without it, you will have an ugly gaping hole in the wing. If you do
this modification, don't do what I did and wait until the wing halves were glued
together (duh!). No, no, do it beforehand.
|
Click on
images below to see larger images
|
|
|

|
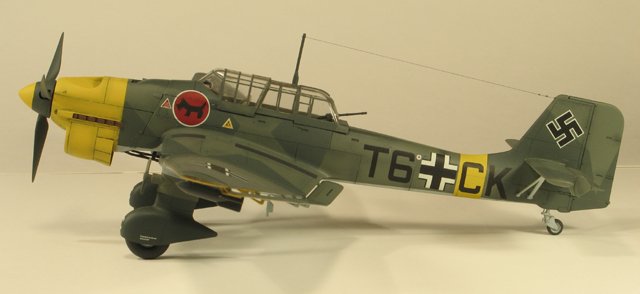
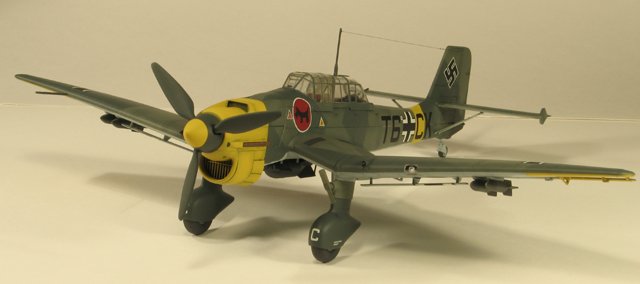
Colors were ModelMaster enamels,
in the standard Luftwaffe RLM 70/70 splinter, with RLM76 Lichtblau underside,
with pre-shading applied beforehand. Hasegawa provides the builder with full
size splinter paper patterns, which greatly accelerated the stencil
cutting/application process.
Be sure to use photocopies, rather than the originals, should you mess up and
need to re-cut a pattern! The canopy was masked with Scotch frosted tape, and
cut with a sharp #11 blade, prior to paint application. Decals were good quality
and went on without issues, and set with a diluted solution of Solvaset. I then
applied detail wash, and a final coat of ModelMaster flat lacquer.
Mark
|
Click on
images below to see larger images
|
|

|

|
|
|