|
There are probably
many Spitfire "purists" that will find fault with some of the details
in this build. It seems that no other aircraft gets as close scrutiny as the
Spitfire. A modeler is open to bashing if anything is incorrect. I didn't build
this kit to satisfy the experts, I built it to have fun and add a Spitfire to my
collection. Please forgive the "mistakes" made by someone who has not
studied every nut, bolt, and switch of this classic aircraft.
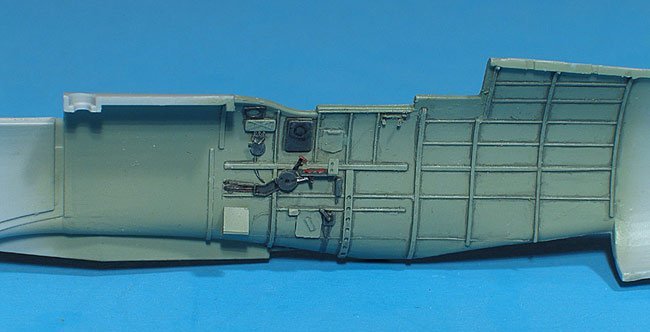
This is the original
issue of the kit, which has many sink marks. These were easily filled with
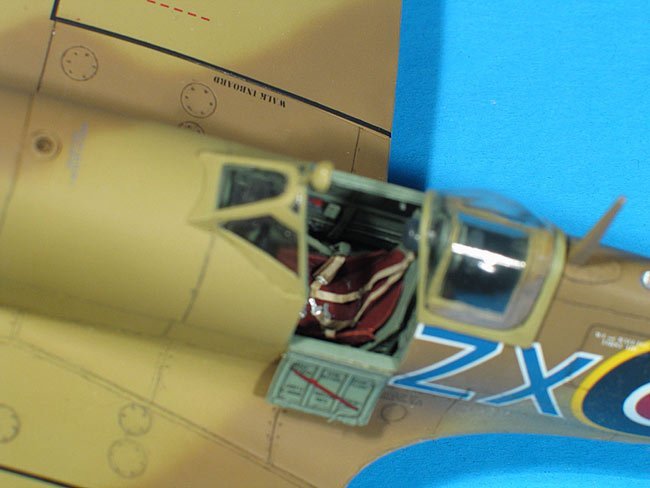
Zap-A-Gap CA. The canopy was cloudy, but a good wash and a dip in Future cleared
it nicely.
Click on
images below to see larger images
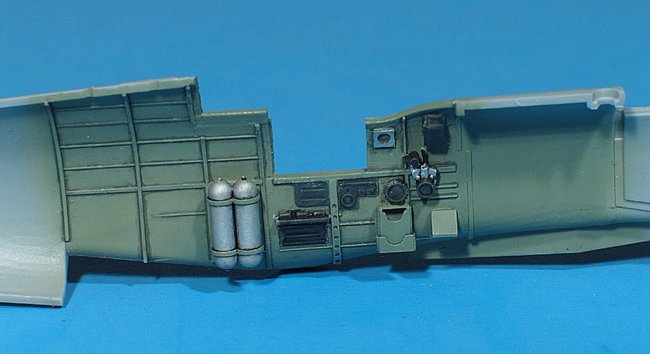
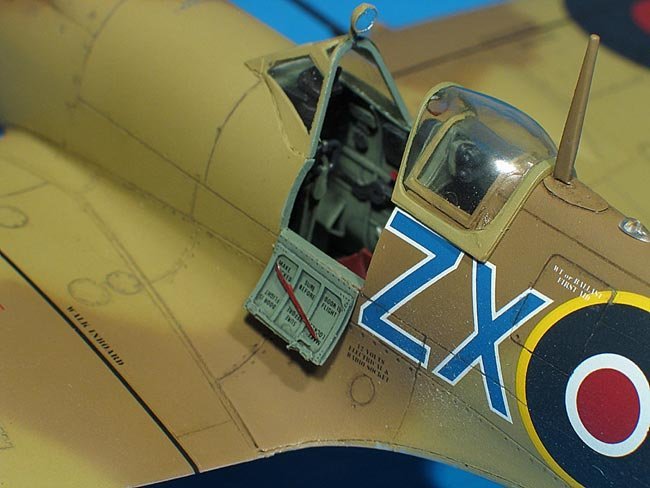
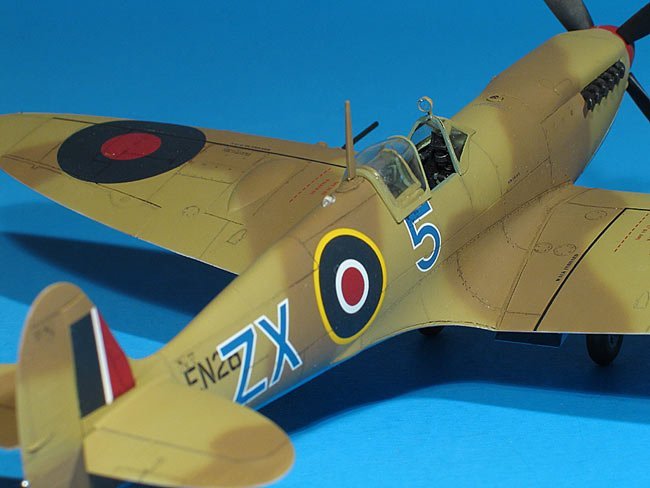
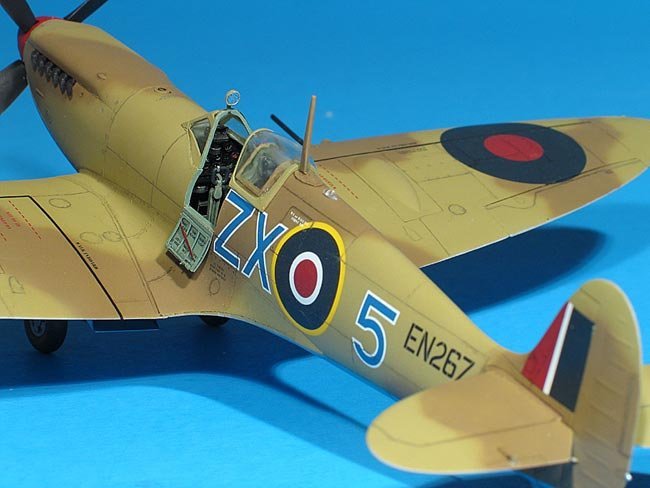
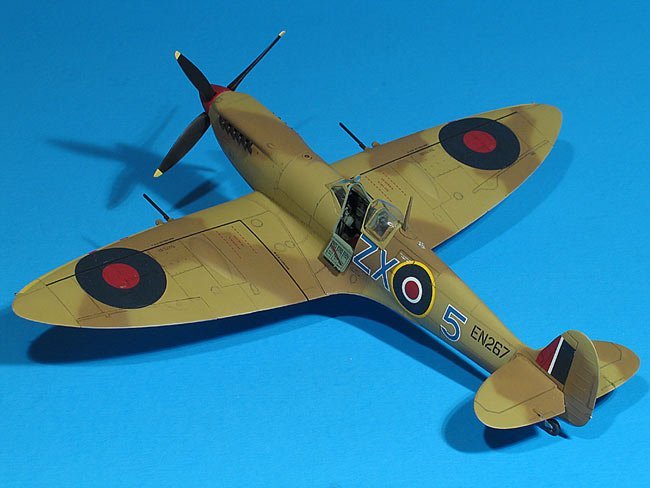
I added Eduard's
beautiful photoetched detail set to this kit. There are lots of items, including
the entry door. The kit contains many optional parts, allowing for different
versions. There are two sets of rudders and tailplanes. There are standard,
clipped, and extended wingtips, along with three different gunbay doors. Also
included are rockets and bombs.
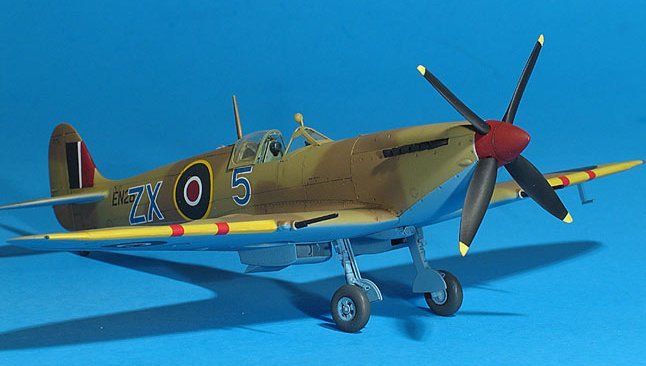
There is also an
engine and compartment included with this kit. If you want to display the
engine, I recommend exposing the whole thing. A lot of trimming is necessary in
order to use the cowl panels and firewall. I elected to omit the engine,
firewall, and disc that fits to the nose behind the prop. I glued the exhausts
to the inside of the cowl. I first experimented with blocking the exhaust
openings and fitting the exhausts, but that extended them too far from the cowl.
The disc at the nose is oversized; the cowl parts won't fit around it. Shaving
it down equally, while keeping the hole centered, was a lot more work than I
wanted to do. Instead, I simply glued the prop to the front of the nose.
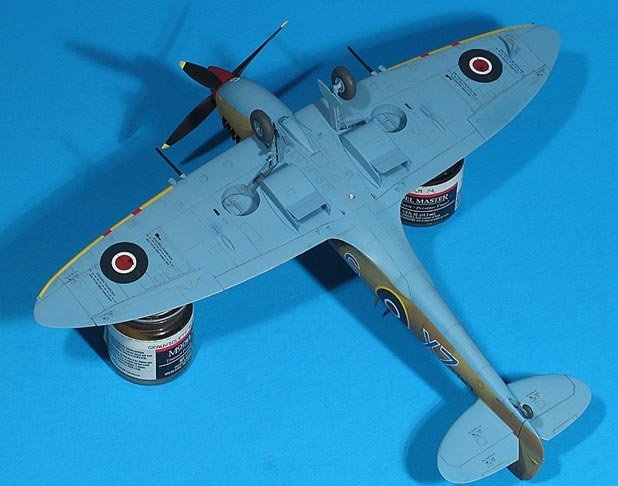
When I
dryfitted the wing to the fuselage, I tried adding the lower cowl piece. The
area that attaches to the lower wing was difficult to align. In order to get a
smooth fit all around, I glued the lower cowl piece to the lower wing first,
then added this assembly to the fuselage. Everything aligned well, which
eliminated filling and sanding in areas of detail.
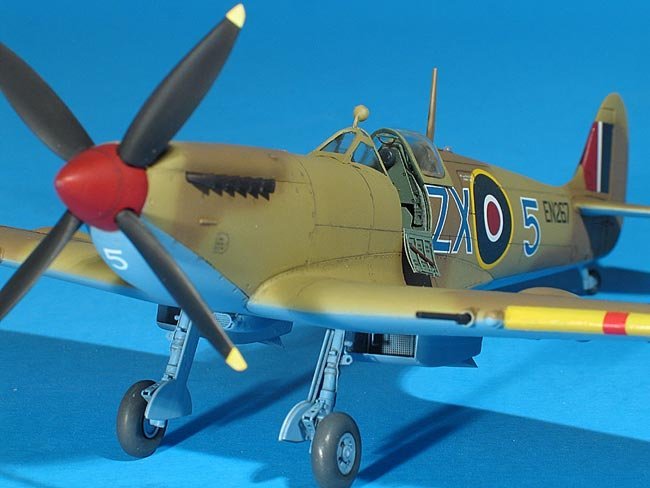
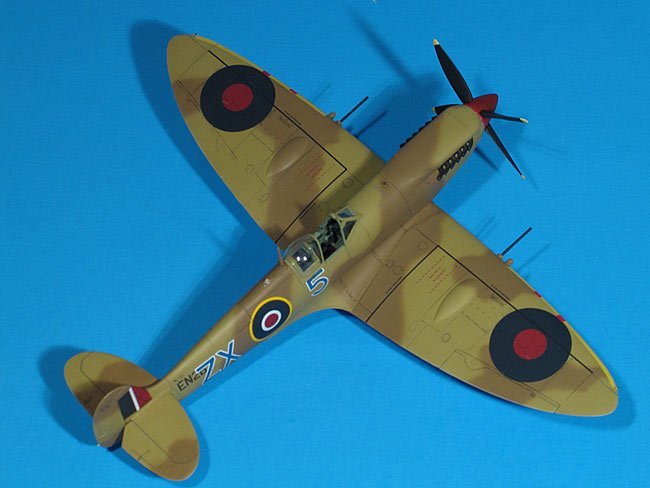
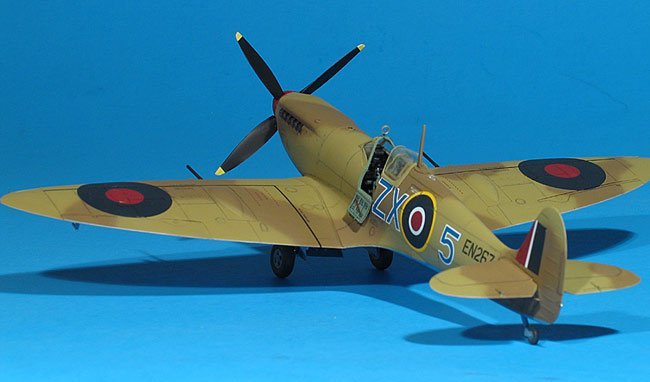
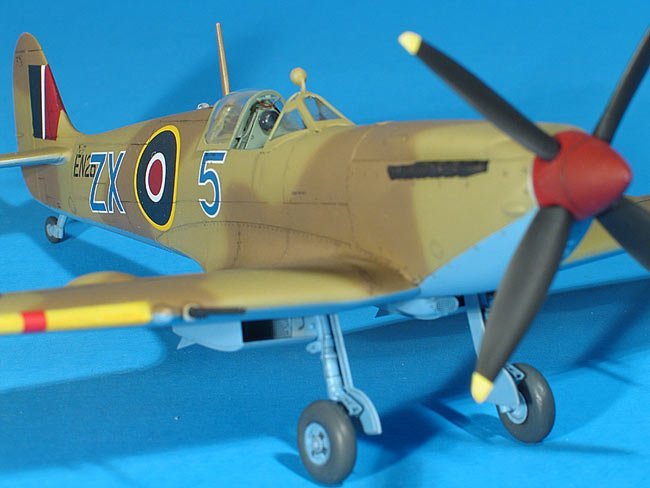
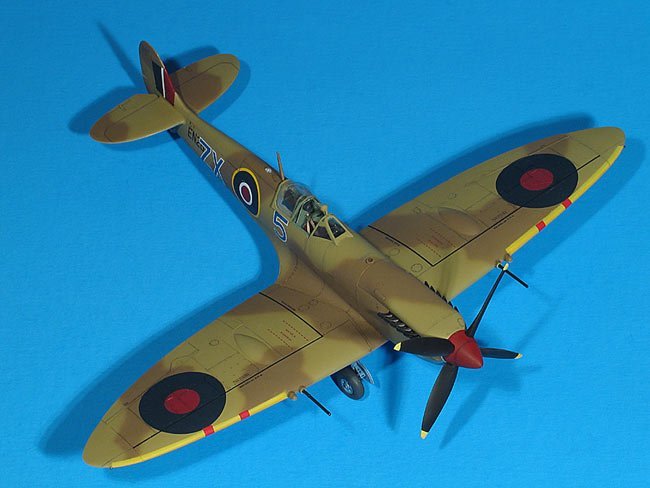
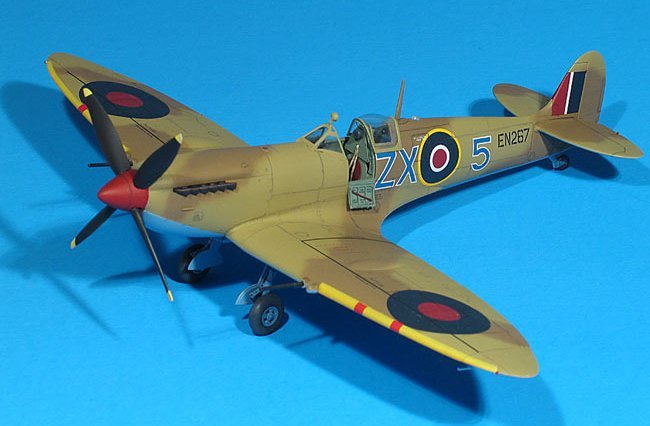
I used Techmod
decals on this kit, and they required a lot of work. They silvered easily, and
resisted conformation to the surface details. I used many methods to try and
tame them. The larger decals were applied to puddles of thinned white glue, and
the stencils to puddles of Future. I still had to slit them over every panel
line and apply thinned white glue, Future, and MicroSol. I also slit open the
silvered areas and used the same methods as the panel lines. After a couple
days, they looked more like AeroMaster or Eagle Strike decals. It was more work
to apply them, but I like having the blue codes of "Z" and
"X," followed by a number. I always prefer to have something a little
different.
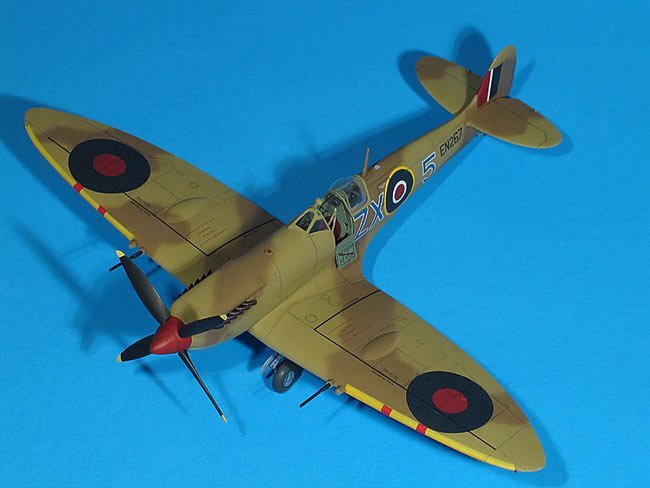
I used Model Master
enamels for the desert scheme. I first sprayed the Azure Blue lower surfaces,
and masked the edges as soon as the paint was dry to the touch. The upper
surfaces were then sprayed with Middlestone. My Dark Earth paint had gone bad,
so I mixed some with the colors I had. This was sprayed freehand over the
Middlestone. I prefer spraying all my camo colors in the same session, since
their drying together seems to produce a more even surface.
While it may not be
completely accurate, it's good enough for me. I'll have to add one in the more
standard green and grays scheme to my collection.
Bill
Visit my website to
see other models of mine, I also build models on commission. http://www.pix.prettyneatinc.com/
Click on
images below to see larger images
|
|